This setup guide is applicable for most MikroTik routers and RouterOS devices, specifically RB2011UAS-2HnD, RB2011UAS-RM, RB951G-2HnD, RB951Ui-2HnD, RB751G-2HnD, RB751U-2HnD, RB750GL, RB750, RB1100AHx2 and many others.
You are advised to follow this guide on a brand new router with factory default configuration, as your existing setup may conflict with new settings.
Plug the Ethernet cable from Maxis BTU/modem to port number 1 of the router.
Plug the Ethernet cable from your computer to port number 2 of the router.
Wait for about 10 seconds to have the IP address assigned to your computer.
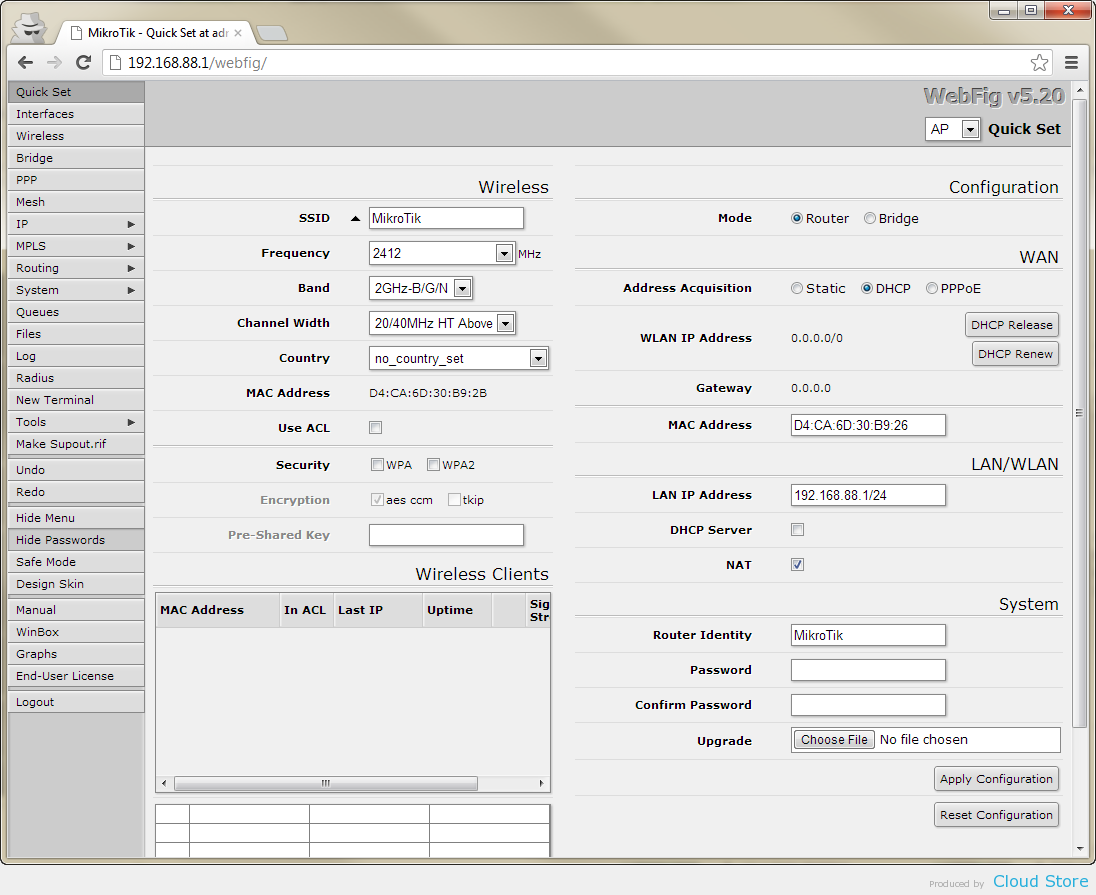
Open your favourite browser and go to http://192.168.88.1, you will come to a page where MikroTik WebFig is located.
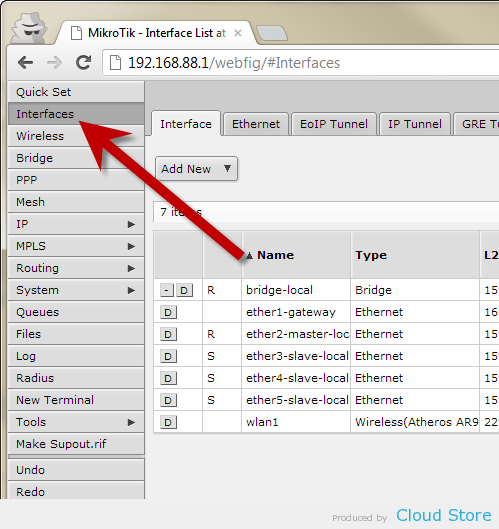
Click on “Interfaces” on the left side menu.
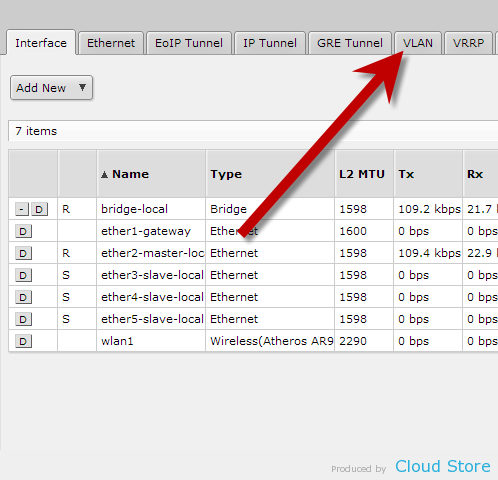
Click on “VLAN” on top.
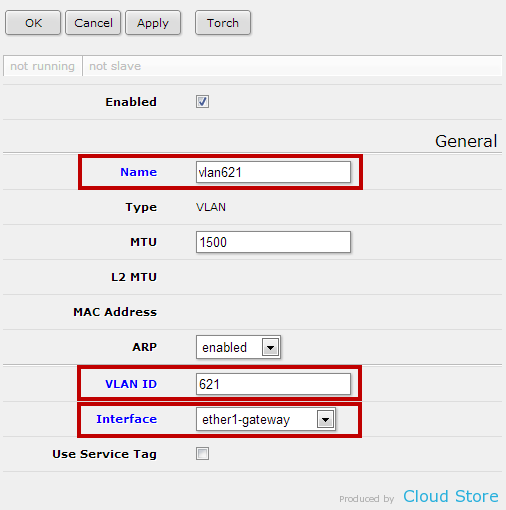
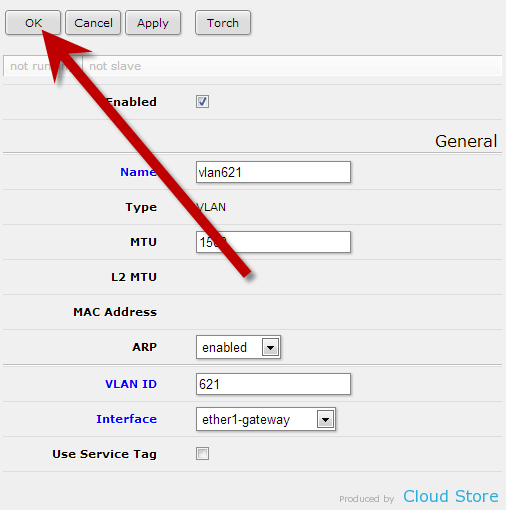
Change the values in the boxes (Name, VLAN ID, Interface) as shown in the screenshot below.
Click “OK” on top to complete.
Now you have the VLAN on the list.
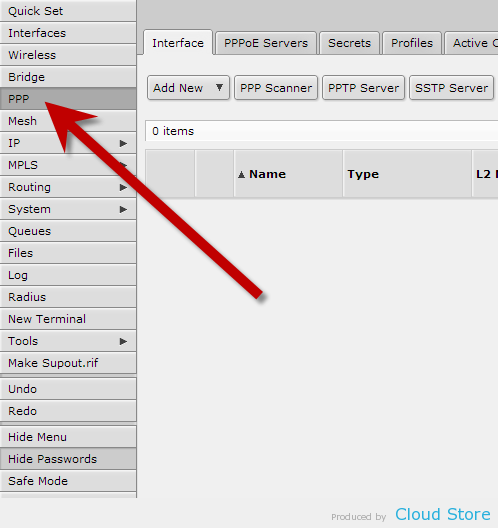
Click on “PPP” on the left side menu.
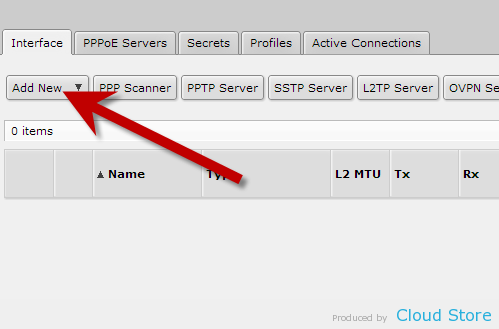
Click on “Add New” to reveal a drop down list.
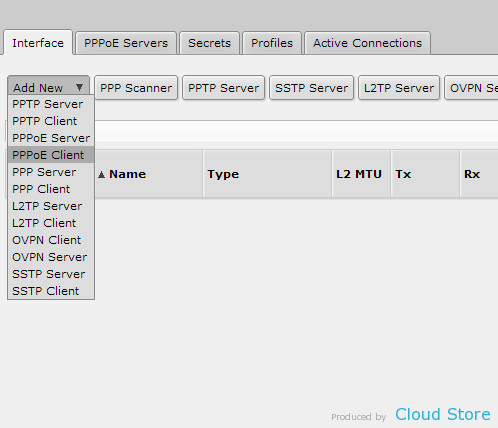
Select “PPPoE Client” from the list.
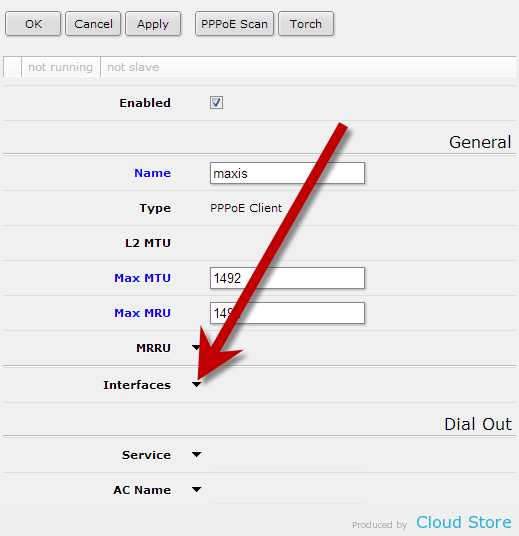
Change the values as shown below.

Click on the arrow as shown to reveal the options.
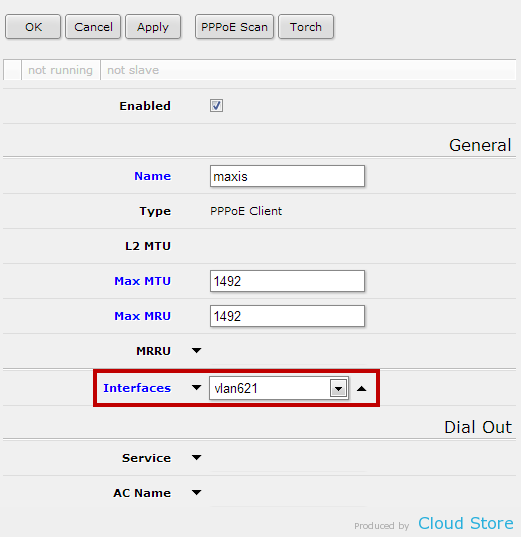
Select “vlan621” from the drop down list.
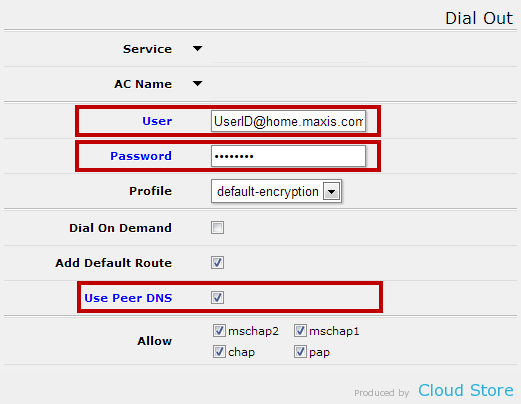
Fill in your Maxis Fibre account username and password respectively, as shown below.
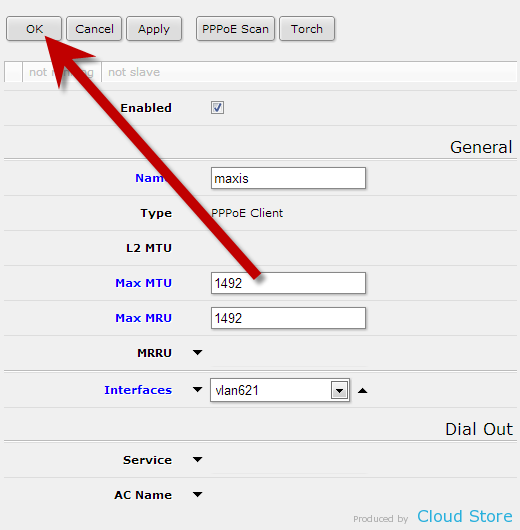
That’s all the settings in this page, click “OK” on top to complete.
Click on “IP” on left side menu to reveal a sub-menu.
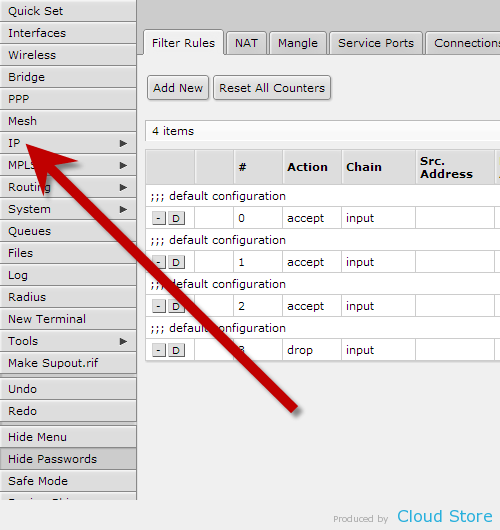
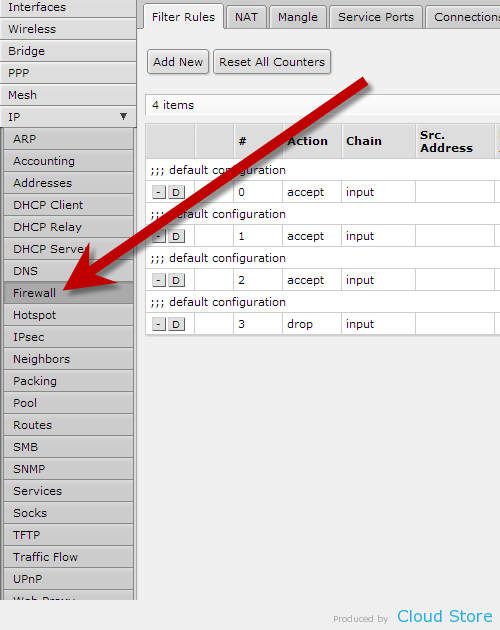
Click on “Firewall” on the sub-menu.
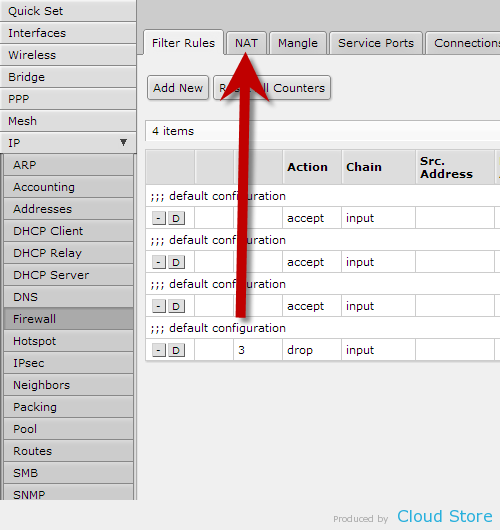
Click on “NAT” on the top menu.
Click on the item on the list.
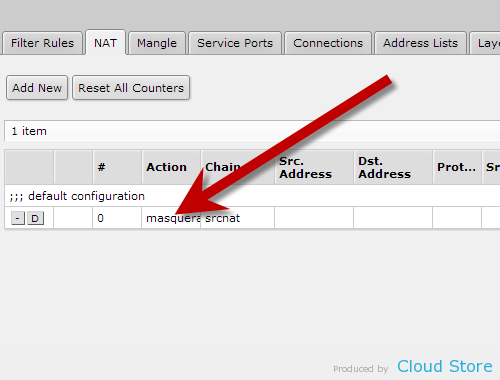
Select “unifi” from the drop down list of “Out. Interface”, as shown below.
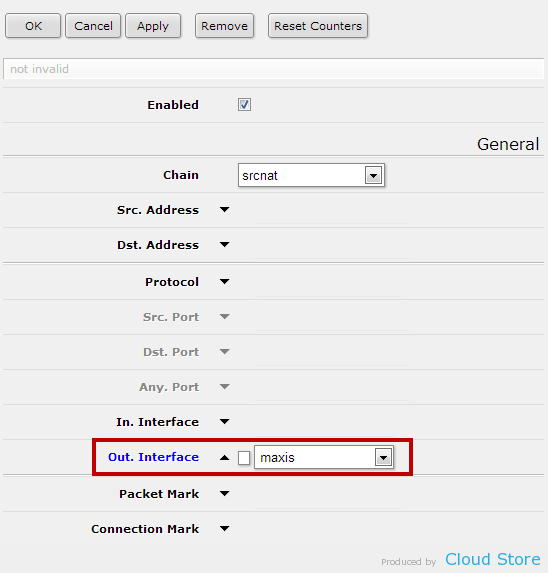
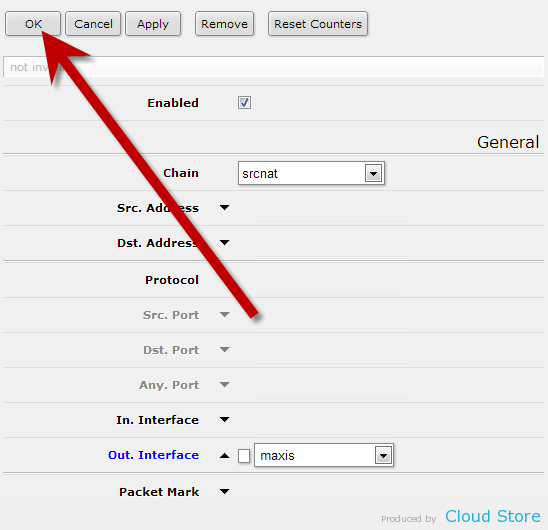
Click on “OK” to complete.
Click on “DNS” on the left side menu.
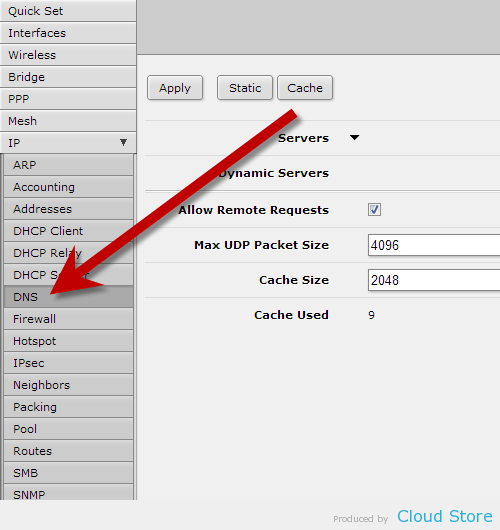
Click on the arrow as shown to reveal an input field.
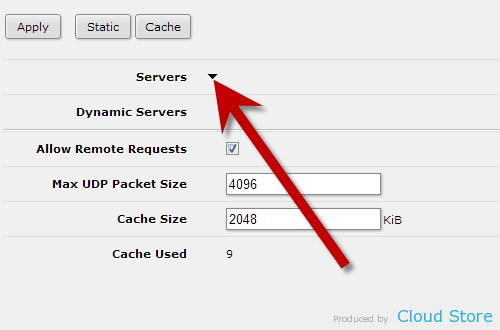
Repeat it to create 4 total field.
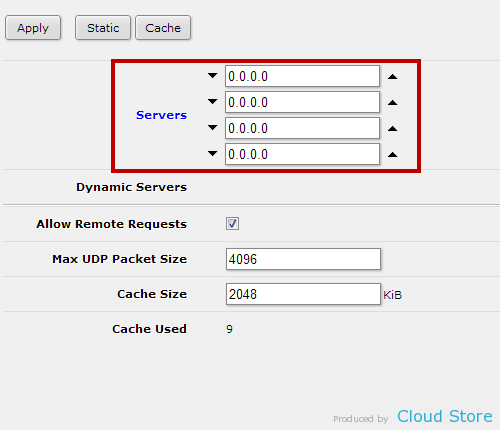
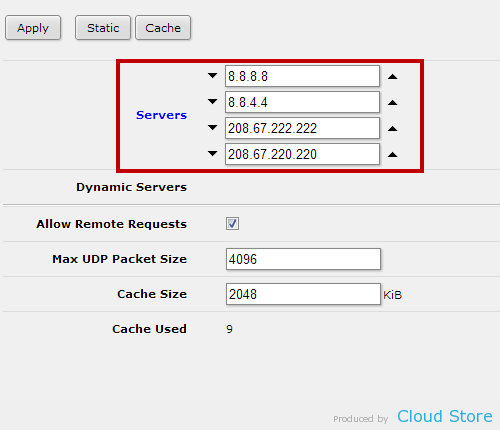
Change the values in the fields as shown below.
Click on “Apply” to complete.
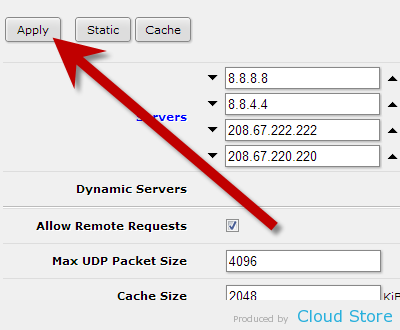
Now you should able to connect to the Internet with your computer!
Credits to cloudstore for the source